
 Spanish
How to wire LED funfair lights?
Wiring LED Funfair Lights: A Step-by-Step Guide
Wiring LED funfair lights—also known as fairground, cabochon, or amusement lights—is a manageable DIY project if you follow proper safety procedures and understand the basic electrical principles involved. Here’s a comprehensive guide based on available information.
Equipment You’ll Need
Before starting, gather the following components:
- LED bulbs (cabochon or golf-ball style) in your chosen colors
- Matching bases/caps (for cabochon bulbs) or face nuts (for golf-ball bulbs)
- Lamp holders with securing nuts
- Cable — typically 1.5 mm², though thicker gauge is needed for larger signs
- Power supply unit (PSU) with suitable wattage
- Adaptor and 2-port lever clamps
Step 1: Choose the Right Power Supply
The power supply is critical. If connecting multiple lights together, you need a high-power switching power supply where the total power output is greater than the sum of the power consumption of all individual lights. It’s essential to match the voltage of your power source to the voltage of your LEDs—mismatched voltage leads to LEDs burning out or running dimly.
funfair lights are commonly available in AC12V, AC24V, DC12V, and DC24V configurations, as well as higher voltages like AC60V, AC110V, and AC220V for larger installations.
Step 2: Prepare the Mounting Surface
For funfair cabochon bulbs, drill holes in your mounting material—14 mm holes for E10 bulbs or 20 mm holes for E14 bulbs. Push a lamp holder through each hole (the material should be no more than 10 mm thick; thicker panels need rebating).
Step 3: Install the Bulbs
For cabochon bulbs:
- Screw the cabochon base onto the lamp holder until snug
- Insert the LED bulb into the base and tighten
- Fit the cabochon cap on top
For golf-ball bulbs: - Screw on the face nut instead of a cabochon base
- Screw in the glass golf-ball bulb directly (no cap required)
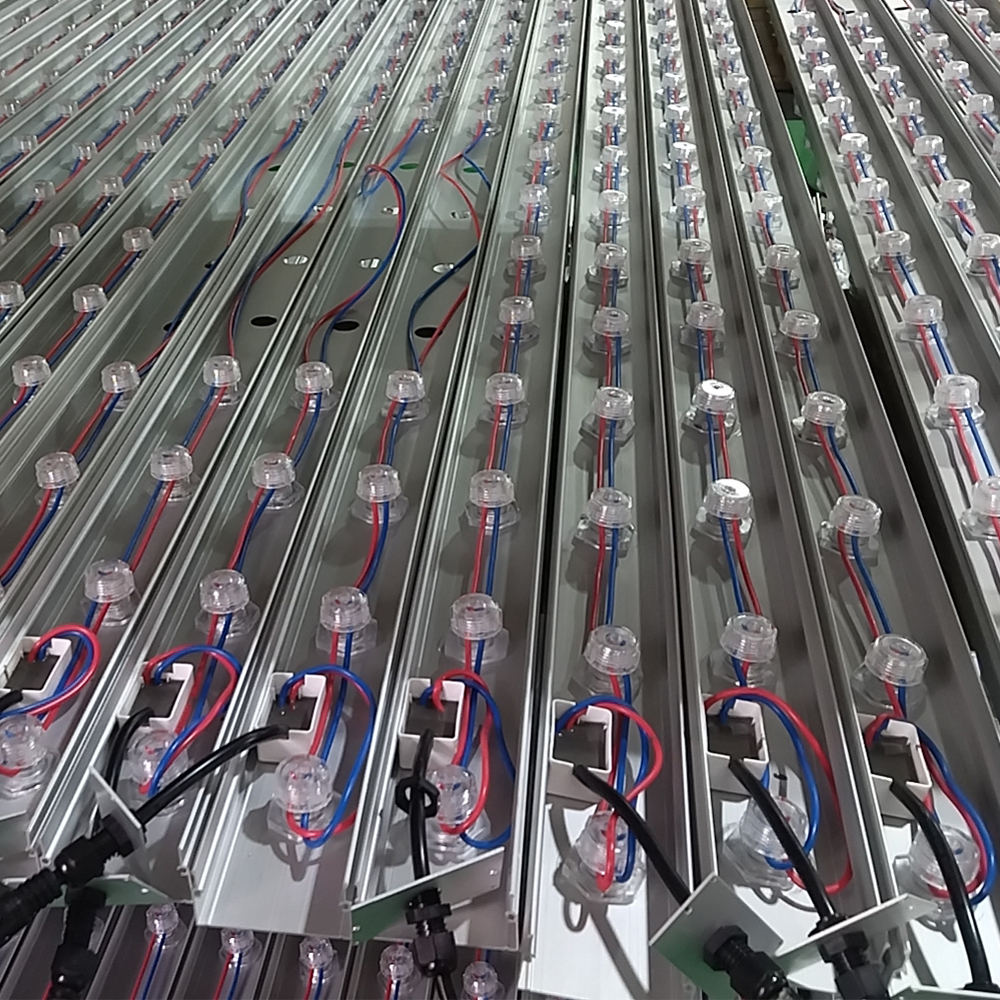
Step 4: Wire the Connections
The wiring process involves several important steps:
- Disconnect the main power before connecting any wires to avoid the risk of electric shock from live current in the wires
- Lay the supply wires into the grooves on the back of the lamp holder
- Screw the securing nut to pierce and clamp the conductors in place
- Distinguish wires by color — typically, the red wire is the positive lead and the black or green wire is the negative lead
- Connect wires to the correct interfaces and wrap connections with insulating tape so they cannot fall off
- Use 2-port lever clamps to join strip wiring to the PSU’s color-coded outputs
- Connect the brown (live) and blue (neutral) PSU leads to a 3-pin plug
Step 5: Test and Finalize
After all connections are made:
- Turn on the main switch
- Check that all lights are shining properly
- If using RGB or pixel bulbs, test color changes and effects
Important Safety Considerations - Electrical safety: Mains wiring should be tested by a qualified electrician if you’re unsure about any aspect of the installation
- Outdoor installations: Choose waterproof pixel cabochons for exterior use
- Low-voltage isolation: The low-voltage lighting system should be isolated from the main power grid with appropriate leakage protection measures
- Avoid hazardous locations: Do not install on wet or combustible surfaces
- Weather resistance: These bulbs are designed to be weather-resistant and operate at lower temperatures, improving safety
Advanced Considerations
For larger projects, planning is essential. This includes designing the lighting layout, selecting appropriate fixtures, laying wires to ensure circuit safety, and testing all lamps individually after installation. Regular maintenance—checking for aging or exposed wires and updating control systems—is also recommended to maintain optimal performance.
For RGB or pixel-based systems, carnival rides typically use small controllers that send signals to each light via DMX cables or wireless connections. These allow for chase effects, fades, and other dynamic displays.